Master Easy Palmiers: Your Quick Guide to French Puff Pastry Cookies
Imagine a cookie that looks incredibly elegant, tastes delightfully crisp and sweet, yet demands surprisingly little effort from the baker. If that sounds like your dream dessert, then allow us to introduce you to the glorious world of Palmiers. These iconic French puff pastry cookies, often affectionately called "Elephant Ears" due to their distinctive shape, are a testament to the fact that sophistication doesn't have to mean complication. Forget hours spent in the kitchen; with this comprehensive guide on Elephant Ear Cookies: Simple Palmiers Recipe with Just 2 Ingredients, you’ll master the art of making perfect Palmiers in no time, offering near-instant cookie gratification that will impress everyone.What Are Palmiers? A Sweet & Simple French Classic
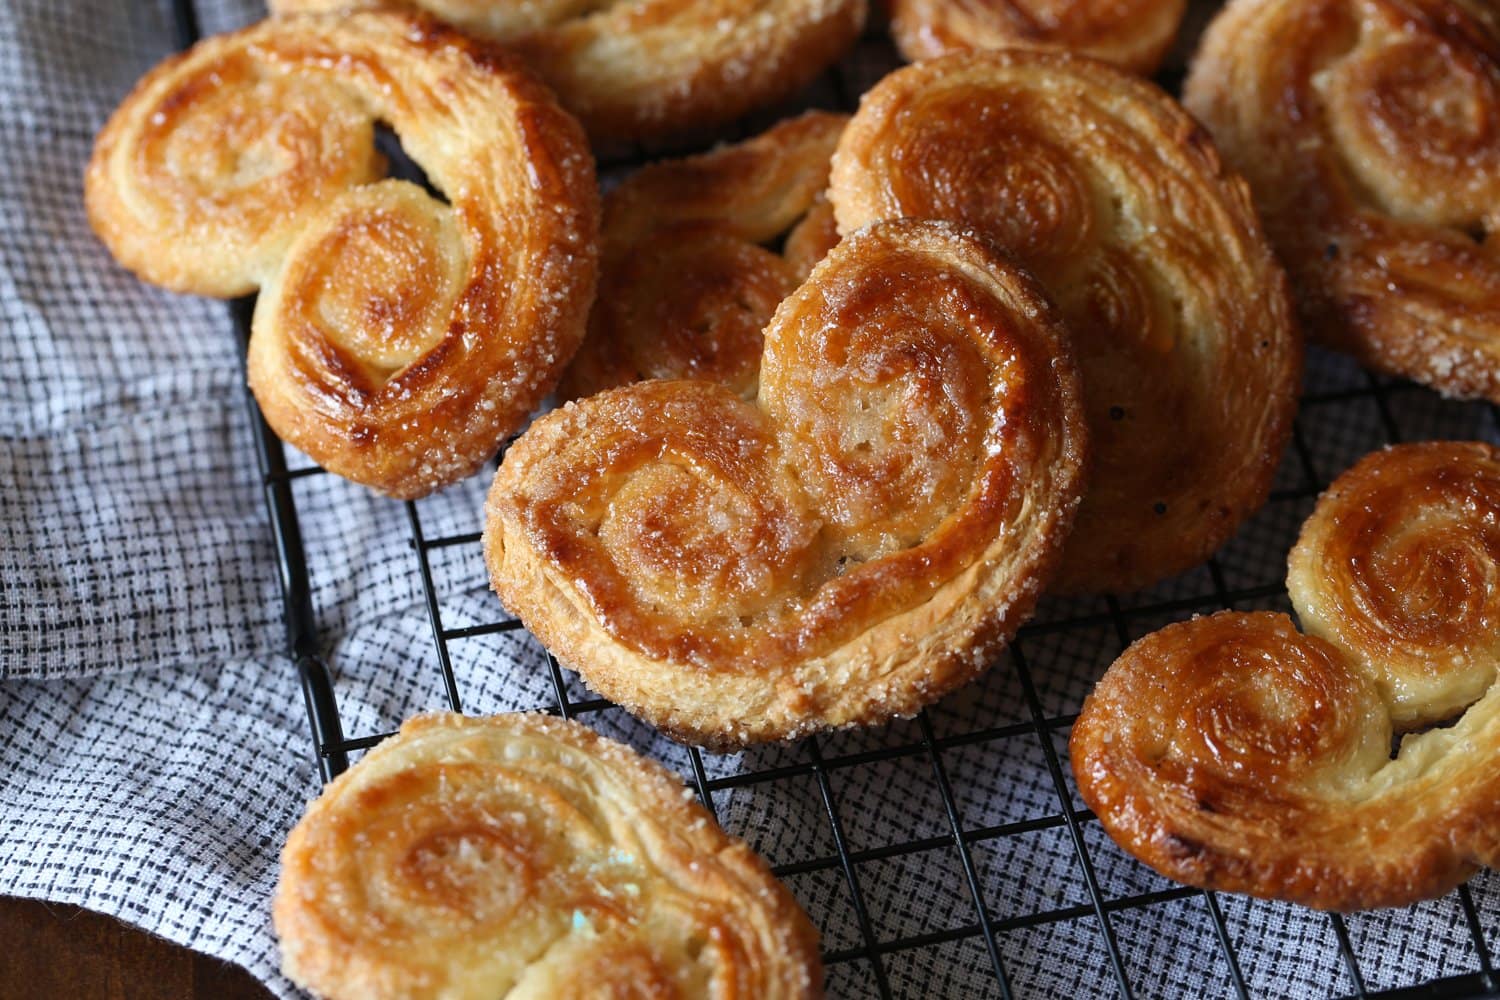
Palmiers are a classic French pastry, renowned for their delicate crispness, buttery flavor, and signature heart-like or "elephant ear" shape. The magic behind these delectable treats lies in just two core ingredients: puff pastry and sugar. When baked, the sugar caramelizes, creating a beautifully glossy, crisp, and slightly chewy exterior, while the numerous layers of puff pastry expand into a flaky, airy texture within. The beauty of the Palmier is its deceptive simplicity. While they boast the elegance typically associated with French pâtisserie, the process to Classic Palmiers: Sweet & Savory Puff Pastry Cookies Guide is incredibly straightforward, especially when utilizing quality store-bought puff pastry. This makes them an ideal choice for anyone seeking a quick yet impressive dessert or a sophisticated accompaniment to an after-dinner coffee or tea. Their versatility also extends beyond sweet, allowing for delicious savory variations that can elevate any appetizer spread.Why Palmiers Are Your Go-To Quick Cookie
In a world where elaborate baking often feels out of reach for busy schedules, the Palmier stands out as a beacon of culinary accessibility. This isn't just an easy cookie; it's a cookie conundrum solver. Here's why Palmiers should be your next baking project: * Minimal Ingredients: At its core, the classic how to make Palmiers recipe requires only puff pastry and granulated sugar. That's it! This simplicity means fewer grocery runs and less fuss. * Speedy Preparation: While there's a chilling step involved, the active preparation time is remarkably short. Once your puff pastry is thawed, you're mere minutes away from shaping your cookies. * Impressive Results: Despite the minimal effort, Palmiers look incredibly professional and taste divine. The golden, caramelized sugar and delicate flaky layers give them an artisanal quality that belies their humble origins. * Versatility: Whether you want a simple sweet treat or a sophisticated savory bite, Palmiers adapt beautifully. This means one basic technique can open up a world of flavor possibilities. * Instant Gratification: From rolling out the dough to enjoying the first crisp bite, the process is swift, making Palmiers perfect for those moments when a cookie craving hits hard and fast.Mastering the Easy Palmiers Recipe: Step-by-Step Guide
Ready to dive in and discover how to make Palmiers recipe perfection? This detailed guide will walk you through each step, ensuring you achieve beautifully crisp, golden, and utterly irresistible French puff pastry cookies.Essential Ingredients & Tools
Before you begin, gather your minimal but mighty arsenal:- 1 sheet (about 1.1 lbs or 500g) good quality puff pastry: Thawed according to package instructions, but kept cold.
- 1/2 cup granulated sugar: Essential for that signature crisp and caramelized finish. You might need a little more for sprinkling.
- Optional additions: 1-2 teaspoons cinnamon, cardamom, nutmeg, or vanilla sugar for an aromatic twist.
And your tools:
- Parchment paper or a Silpat baking mat: Crucial for preventing sticking and easy cleanup.
- Rolling pin: To achieve an even thickness.
- Sharp knife: For clean cuts.
- Baking sheets: You'll need at least two, as Palmiers expand significantly.
- Wire cooling rack: For perfect crispness after baking.
Step-by-Step Instructions
- Preheat and Prepare Your Workspace: Preheat your oven to 400°F (200°C). Lay out a large sheet of parchment paper or your Silpat mat on a clean work surface. Sprinkle about 1/4 cup of granulated sugar evenly over this surface. This initial layer of sugar not only prevents sticking but also helps create the first layer of delicious caramelization on your cookies.
- Roll Out the Puff Pastry and Sugar: Carefully unroll your thawed puff pastry onto the sugared surface. Sprinkle another 1/4 cup of sugar directly over the top of the pastry. If you're using spices like cinnamon or cardamom, sprinkle them evenly over the sugar now. Using your rolling pin, gently roll the puff pastry into a rectangle, aiming for dimensions of approximately 10x12 inches (25x30 cm) and about 1/8 to 1/4 inch thick. As you roll, the sugar will press into the dough, creating more layers of sweetness and crunch.
- Roll Left and Right Edges Inward: This is where the magic of the "elephant ear" shape begins. Starting from one of the longer sides, carefully roll the edge inward towards the center of the dough. Stop when you reach the imaginary midline. Repeat this process with the opposite long side, rolling it inward until it meets the first rolled edge perfectly in the middle. The two rolled sections should be touching. Gently press the seam where they meet to ensure they adhere. This forms your log for slicing.
- Chill the Dough: Carefully transfer the rolled puff pastry log (still on its parchment paper) to a baking sheet. Place it in the refrigerator for at least 30 minutes, or up to an hour. This step is crucial: chilling firms up the butter in the puff pastry, making it much easier to slice neatly and helping the cookies maintain their shape during baking. Don't skip this!
- Slice Cookie Forms and Prepare for Baking: Once thoroughly chilled, remove the log from the refrigerator. Using a sharp knife, cut the log into slices about 1/2 inch (1.25 cm) thick. As you slice, you'll see the beautiful spiral pattern emerge. Lightly sprinkle a little extra sugar onto each side of the sliced cookies. Before placing them on the baking sheet, gently pinch and press the sides of the two rolled sections together at the bottom of the "heart" shape. This helps to secure the layers and prevents them from unraveling too much during baking.
- Place on Lined Baking Sheets: Arrange the sliced Palmiers on your parchment-lined baking sheets, leaving plenty of space between each cookie (at least 2-3 inches). Remember, Palmiers will increase in size dramatically as they bake, puffing up and spreading out. Overcrowding the tray will result in uneven baking and potentially merged cookies. It's better to bake in batches if necessary; about a dozen per sheet is usually ideal.
- Bake to Golden Perfection: Place the baking tray in the middle rack of your preheated 400°F (200°C) oven. Bake for 10-15 minutes, or until the sugar has caramelized to a beautiful golden brown and the pastry layers are puffed and crisp. Keep a close eye on them, especially towards the end, as the sugar can go from perfectly golden to burnt very quickly. If you notice one side browning faster, you can flip the cookies halfway through baking to ensure even caramelization, though this isn't always necessary.
- Cool on a Rack: Once baked, immediately transfer the Palmiers to a wire cooling rack. Allow them to cool for at least 10 minutes. This helps them crisp up further as they cool and prevents them from becoming soggy from residual steam. Serve and enjoy your homemade French delicacy!
